Tag Archives: Recipe

Paleo Peach Cobbler/Mess

This is one of the first paleo “desserts” that I ever made. V loves it and it’s pretty much a staple dessert in our house. Note that you can use whatever fruit you wish, but I most commonly use peaches.

Hardware:

  • Medium size pot
  • Potato masher
  • Standard size pie plate
  • Parchment or wax paper
  • Small/med mixing bowl
  • Measuring cups
  • Small glass
  • Spoon

Software:

  • 1.5c Almond Flour
  • 2.0c Sliced Peaches (fresh or frozen)
  • 0.5c Water
  • 3 Tbs Butter
  • 2 Tbs Arrowroot Powder
  • 6 Stevia Packets
  • Cinnamon

Method:

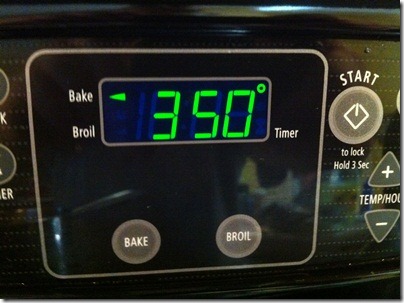
1) Pre-heat oven to 350F.

IMG_1467


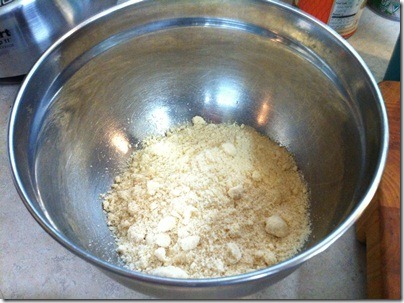
2) Get 1.5c of almond meal/flour and put it in a bowl.

IMG_1458


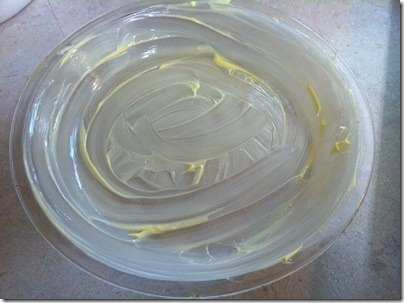
3) Get some finger-fulls of butter and grease up your pie plate.

IMG_1459


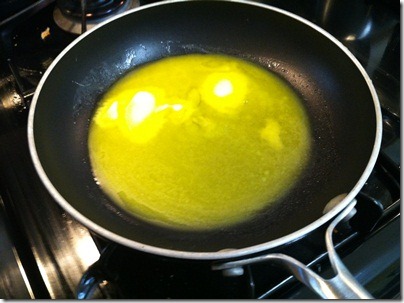
4) Melt the 3 Tbs of butter however you wish. I really don’t care how you do it. Just melt it.

IMG_1460


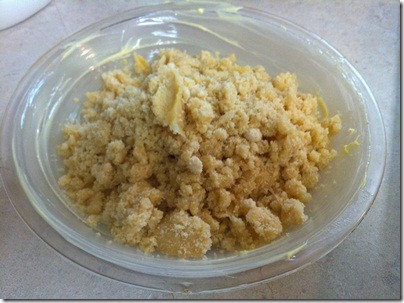
5) Pour the butter over the almond flour and mix until it looks like wet sand.

IMG_1461


6) Dump the wet sand mixture into the pie plate and shake it back and forth to even it out.

IMG_1462


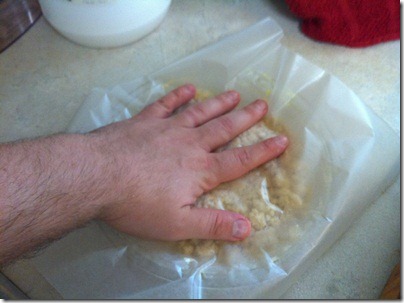
7) Place your parchment or wax paper over the mixture and press it into the pie plate. I sometimes use the bottom of a measuring cup or drinking glass for this as well.

IMG_1463


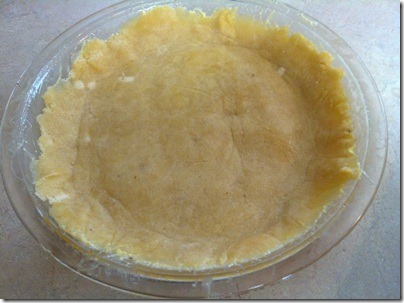
8) Remove the parchment. Easy!

IMG_1464


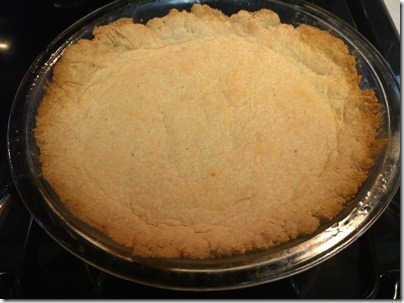
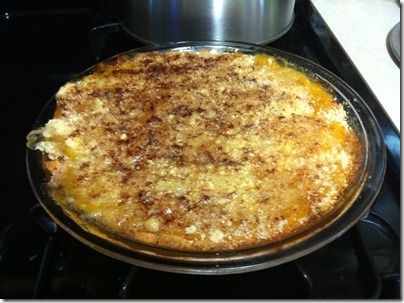
10) Put that sucker in the oven for 15-20 minutes, or until it looks like this.

IMG_1473


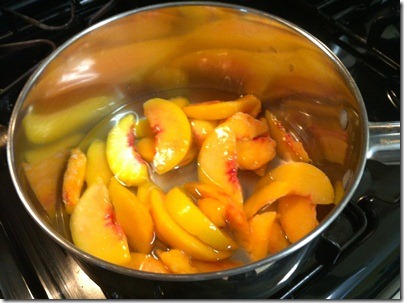
11) While your crust is cooking away, get your 2c of peaches + 0.5c water going over medium heat. Cover and cook for about 15 minutes or until the peaches fall apart.

IMG_1465


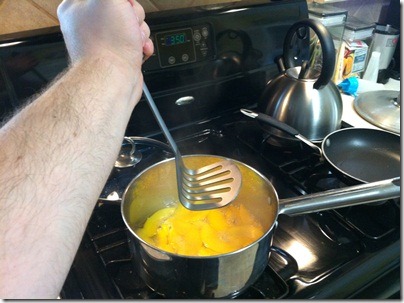
12) Once the peaches are falling apart, MASH!

IMG_1468


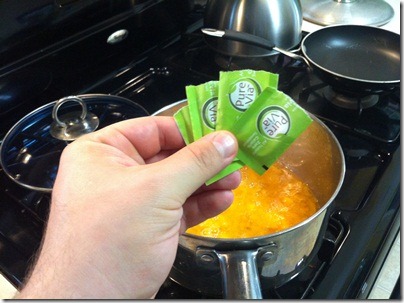
13) Add 4 packets of stevia and stir.

IMG_1469


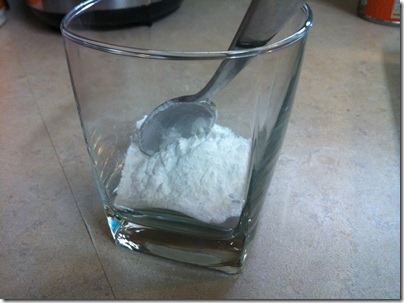
14) Put your 2 Tbs of arrowroot powder into a glass.

IMG_1470


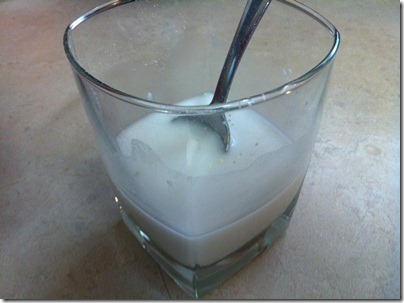
15) Add some water (about 0.25c maybe?) and mix.

IMG_1471


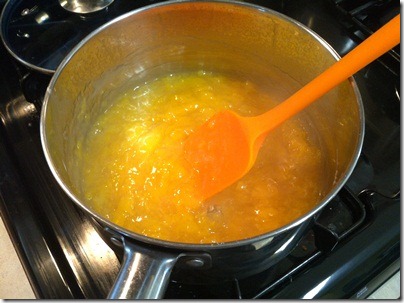
16) Turn your heat to low and add the arrowroot slurry to the pot. Mix it in and let it cook away for a minute or two.

IMG_1472


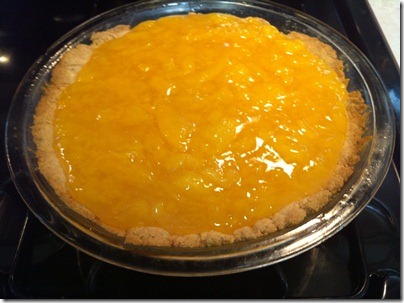
17) Pour the mixture into the shell. You might have some left over.

IMG_1474


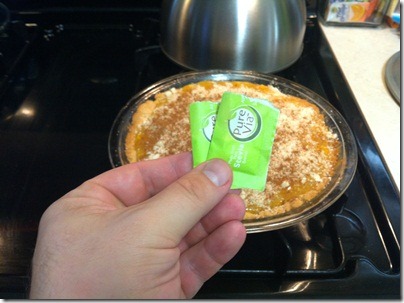
18) Bonus topping time! Sprinkle on a light layer of almond flour followed by 2 more stevia packets and a light dusting of cinnamon.

IMG_1475


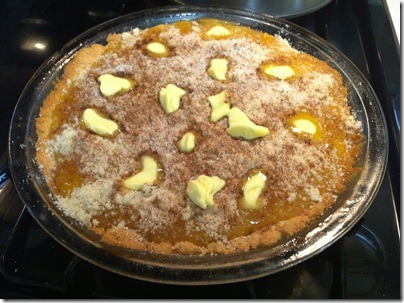
19) Add pats of butter all around.

IMG_1476


20) Put it back in the oven and cook for another 15-20 minutes.
IMG_1477

Paleo BBQ Chicken Legs

Mmmm chicken legs. On the paleo diet, we typically don’t have BBQ sauce because there’s usually lots of sugar and other undesirables. Thank goodness for the Paleo Comfort Foods cookbook as they’ve got a paleo BBQ sauce recipe that seems to work. I had to modify it a bit for my taste, but overall, it was a really good paleo alternative.

What you need:

  • Chicken legs
  • Paleo BBQ Sauce
  • Oven
  • Baking Sheet
  • Foil

What you do:

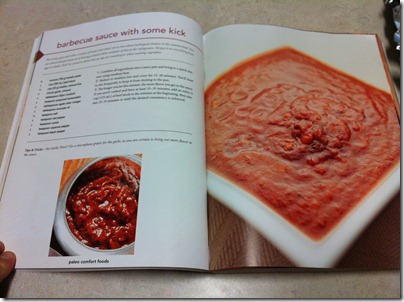
Make sure you have some BBQ sauce made. I used the paleo recipe from the Paleo Comfort Foods cook book:

IMG_1119

1) Pre-heat your oven to 335 degrees F.

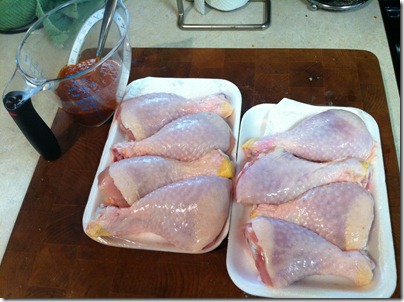
2) Open your chicken packages and get 1/2c of your BBQ sauce ready.

IMG_1116

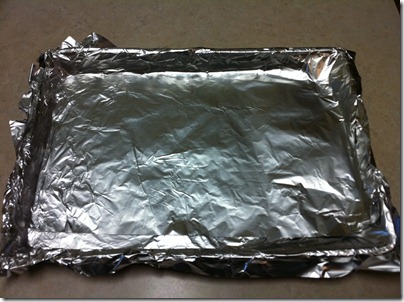
3) Get a baking sheet and coat it with foil. I hate to clean, so I do this. If you don’t care about cleaning, just use the pan as is.

IMG_1117

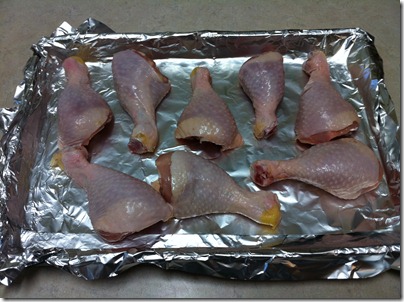
4) Put chicken on baking sheet.

IMG_1120

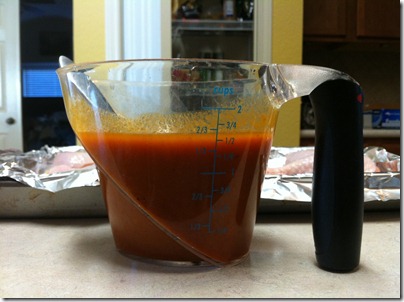
5) Dilute your BBQ sauce with water. Use equal parts. I ended up with a little more than a cup. No biggie.

IMG_1121

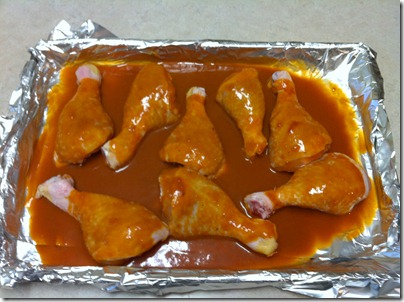
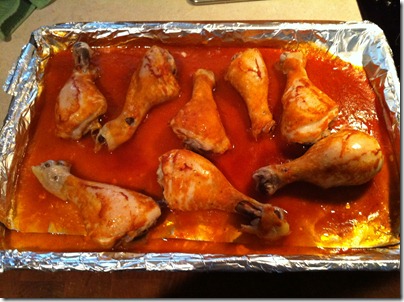
6) Pour it all over the chicken.

IMG_1122

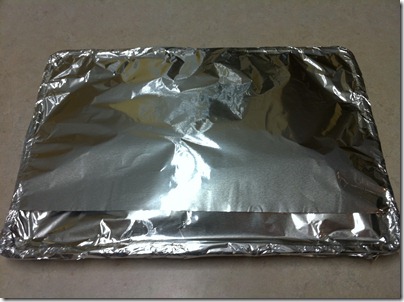
7) MORE FOIL!! Seal that chicken in there. We want to steam the meat for this first cooking leg (no pun intended).

IMG_1123

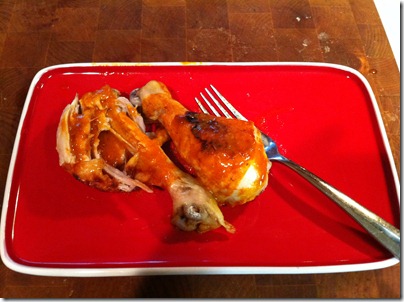
8) Bake for about 60-90 minutes on 335 degrees. The chicken should be fall off the bone.

IMG_1124

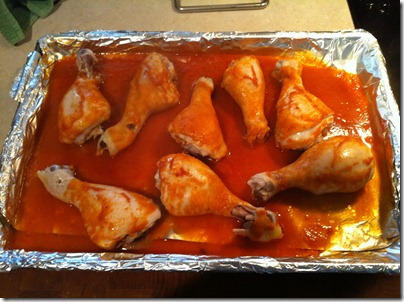
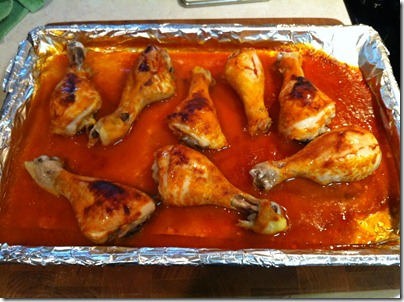
9) Uncover and cook for about 10-15 minutes to start caramelizing the outside.

IMG_1125

10) Turn your broiler on and place the chicken in there for 1-3 minutes, but keep a close eye on it, checking every 10-20 seconds.

IMG_1126

11) YUM!

IMG_1127

Oven Roasted Ribs

I make this one often. It’s really simple, quick to prep, and delicious.

What you need:

  • Ribs (I usually use spare or St. Louis)
  • Baking Sheet
  • Foil
  • Water
  • Oven
  • Spices

What you do:

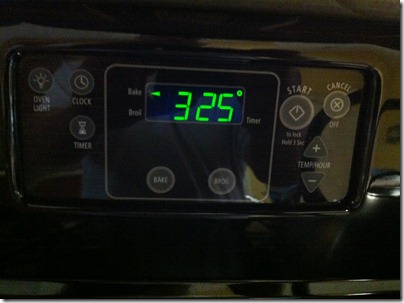
1) Pre-heat your oven to 325 degrees.

IMG_1112

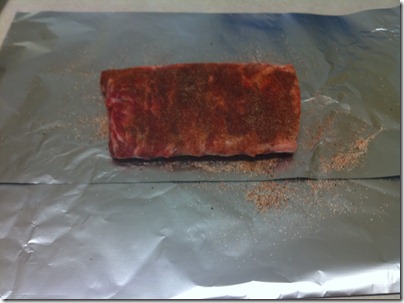
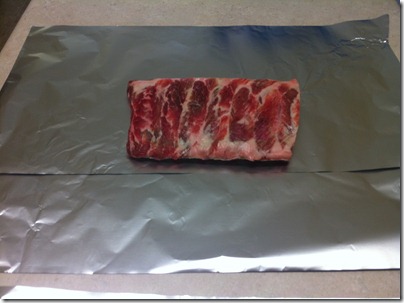
2) If you’ve bought a full rack of ribs, you can leave it intact, just make sure you have enough foil to completely wrap the ribs. I usually cut my racks in half. ANYWAY… get your ribs on to some foil.

IMG_1102

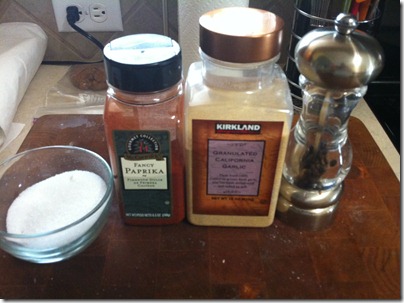
3) Get your spices together. For this dry rub, I use salt, paprika, garlic, and pepper. I don’t measure, but it’s about equal parts of salt, paprika, and garlic, then about 10-20 grinds on the pepper mill.

IMG_1105

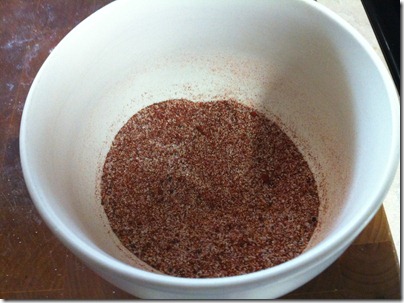
4) Mix your spices.

IMG_1106

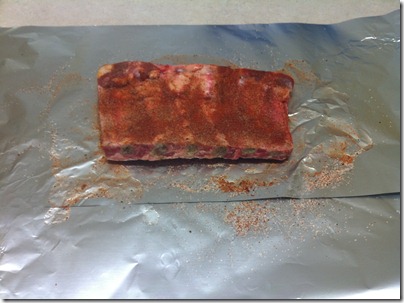
5) Rub both sides of your ribs liberally with the spice mix. Make sure you get a good, even coating.

IMG_1107

6) Place your ribs with the meatier side down.

IMG_1109

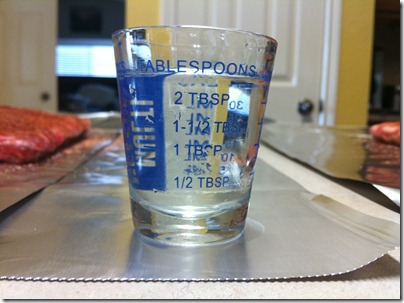
7) Get ~2 tablespoons of water and pour it around the edge of the ribs.

IMG_1108

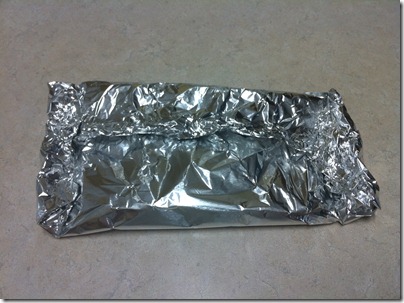
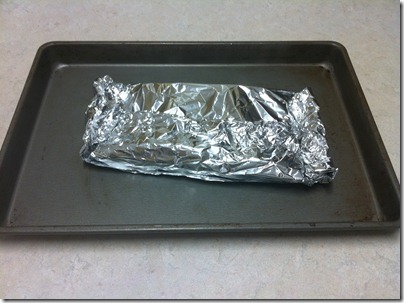
8) Wrap them up as tightly as you can. We want the water to get trapped in there to steam the meat.

IMG_1110

9) Put your ribs onto a baking sheet and put it in the oven for 2 hours. No peeking.

IMG_1111

Roasted Brussels Sprouts

A few friends have asked me about this recipe, so I thought I’d post. Enjoy!

What you need:

  • Brussels sprouts
  • Olive oil
  • Salt
  • Pepper
  • Garlic Powder
  • Butter
  • Roasting Pan

How you do it:

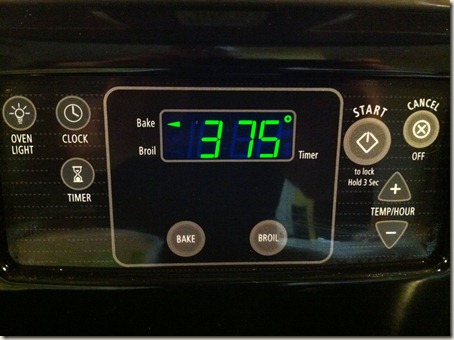
1) Pre-heat your oven to 375F.

Photo Mar 28, 9 40 45 PM

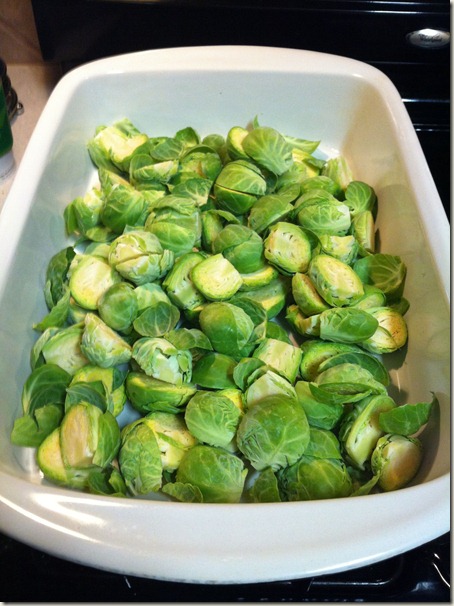
2) For each sprout, cut the bottom off, then cut it in half lengthwise. Toss it in the roasting pan to hang out with it’s newly dismembered friends.

Photo Mar 28, 9 40 59 PM

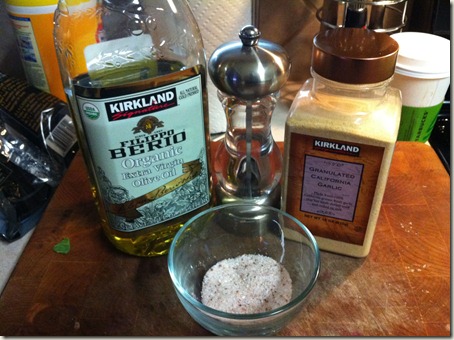
3) Drizzle olive oil liberally over the sprouts. I used about 1/2c for the amount above. Then, season liberally with salt, pepper, and garlic powder.

Photo Mar 28, 9 41 16 PM

4) Toss together so each sprout gets some seasoney lovin’.

Photo Mar 28, 9 41 32 PM

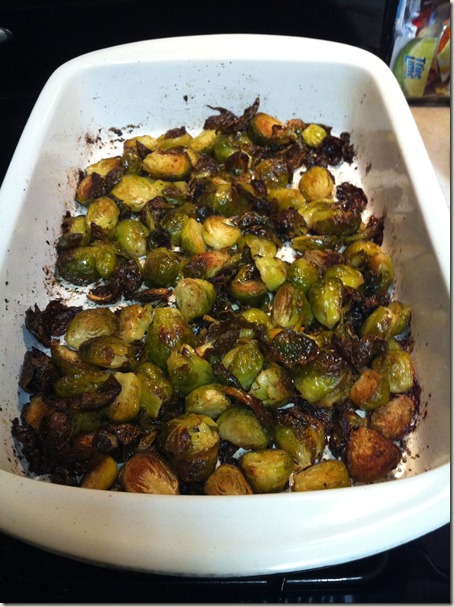
5) Pop these bad boys in the oven for about an hour. About 30 minutes in, give them a stir. What we are looking for here is for the sugars in these tiny little cabbages to start to come out and cook i.e. caramelize. Once they start to caramelize, that’s where the real flavor is. Don’t take them out until they look like this:

Photo Mar 28, 9 41 54 PM

ZOMGWTF! They are burnt?!?!

Nope. They are delicious! Be brave. Just like Kramer went extra far on the last drop of gas,  you can leave these guys in the oven until they have peaked. Incidentally, the leaves that sort of separate and become super crispy are the best part are are somewhat like crack, so, don’t say I didn’t warn you.

Enjoy!

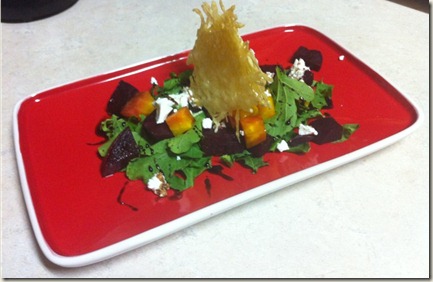
Red and Gold Beet Salad with Balsamic Honey Reduction

Here’s an appetizer that I made on Valentine’s Day. I have had this in a few places and thought it was delicious!

What you need:

  • 1 red beet
  • 1 golden beet
  • Arugula
  • Honey
  • Balsamic Vinegar
  • Goat Cheese
  • Parmesan Cheese

How you do it:

Cook the beats.

  1. Peel them, half them, and place them in a pot so they are just covered with water.
  2. Place over medium heat and cook until fork tender.
  3. Remove the beets, let them cool, then cube them.

Make the balsamic honey reduction.

  1. Place about 1/2c of balsamic vinegar in a small pot over medium heat. Add 2-4 tablespoons of honey depending on how sweet you like it.
  2. Reduce until it’s about 1/2 of it’s original volume. Pay close attention here as this might boil over if left alone for too long.

Make the Parmesan crisps.

  1. Line a cookie sheet with parchment paper and preheat the oven to 325F.
  2. Take about 1/2c of Parmesan cheese and make 6 nicely spaced piles on the cookie sheet.
  3. Cook for 8-10 minutes until just slightly browned.
  4. Remove from stove and let cool to become more rigid.

Assemble it!

  1. Find a nice plate.
  2. Put a good handful of arugula down.
  3. Sprinkle some cubed beets around.
  4. Flake some goat cheese over the top.
  5. Using a fork, dip the prongs into the reduction then drizzle fancy little lines all over the place.
  6. Take 2 Parmesan crisps and lean them up against each other anchoring them in the bed of arugula.

IMG_0353

Stuffed Chicken in Tomato Cream Sauce & Asparagus

I made this dish on Valentine’s day. I loved it… V, not so much. At any rate, I thought I’d post it in case anyone was interested. Incidentally, if you want to make this a “paleo” dish, just don’t use the Parmesan.

What you need:

  • 2 Chicken Breasts
  • Spinach
  • Sun dried tomatoes
  • Mushrooms
  • Garlic
  • Fresh Asparagus
  • Parmesan Cheese
  • Tomato Sauce
  • Heavy Cream
  • Olive Oil
  • Butter
  • Coconut Oil
  • Salt
  • Pepper

How you do it:

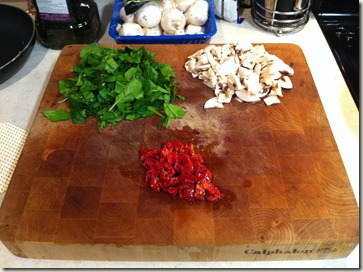
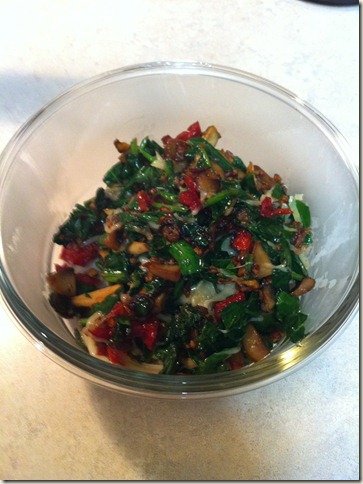
1) Make the filling. Start by chopping up the spinach, mushrooms, and sun dried tomatoes.

IMG_0307


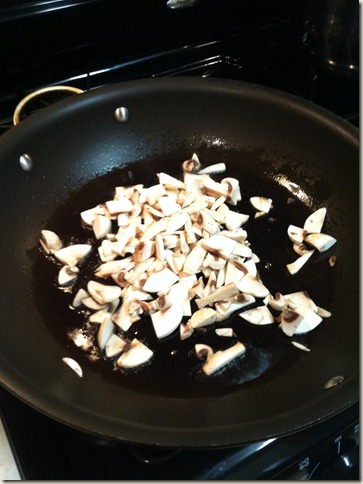
2) Get a large pan going over medium heat. Add about a tablespoon each of butter and coconut oil. Throw the mushrooms in.

IMG_0308


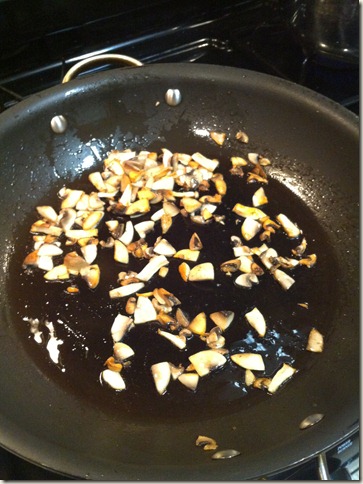
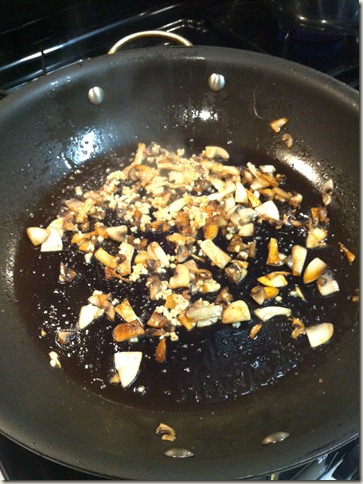
3) Cook the mushrooms until they look like this:

IMG_0309


4) Add about 1 tablespoon of minced garlic. Cook until it starts to brown.

IMG_0310


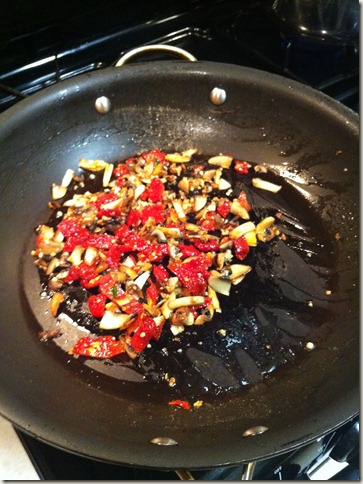
5) Add in the sun dried tomatoes and cook for a minute or two.

IMG_0311


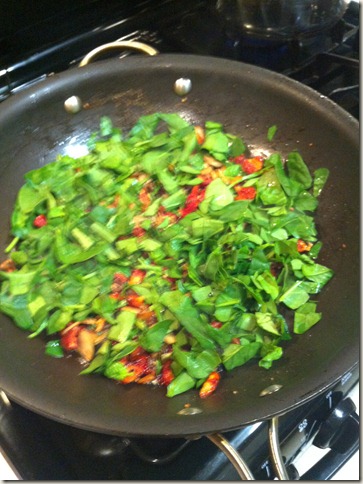
6) Add in the spinach and cook until wilted.

IMG_0312


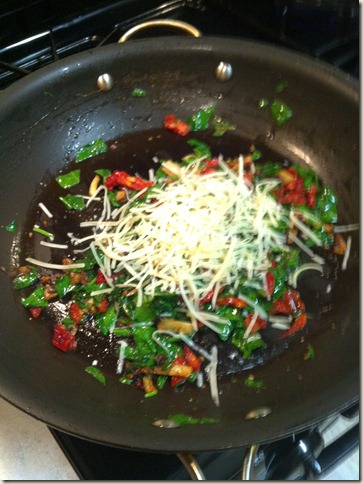
7) Add in a good handful of Parmesan cheese. Season also with a pinch of salt and some black pepper. Mix it up until the cheese starts to melt. Cut the heat off.

IMG_0313


8) Transfer the filling to a bowl and let it chill.

IMG_0314

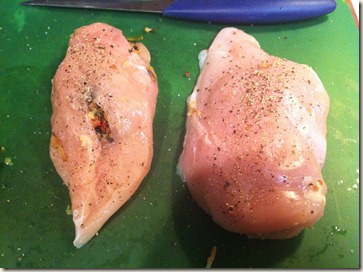
9) Using a fillet knife, insert into the top of your chicken breast and make a pocket. Make the hole just big enough to stuff the filling in. Stuff as much filling into the pocket as you can, then season the chicken breasts with olive oil, salt, and black pepper.

IMG_0354


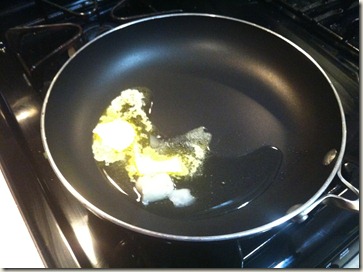
10) Add more butter and coconut oil to the pan, again over medium heat.

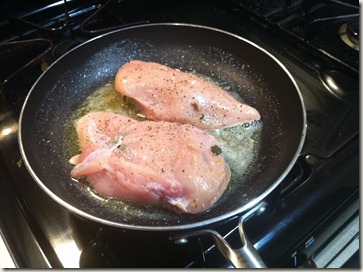
IMG_0355


11) Place chicken in. Cook 3-4 minutes each side until nicely browned. Place in oven (375F) for about 10 minutes or until the juices run clear.

IMG_0356

IMG_0357


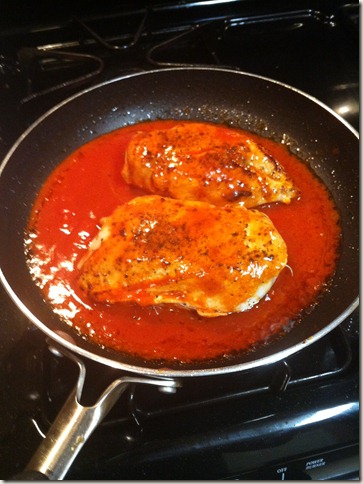
12) Remove chicken from pan. Add about 1/2c of tomato sauce, then place back on med/low heat. Let the tomato sauce reduce a bit, then add 2 tablespoons of heavy cream. Stir, then place the chicken back into the pan and coat it with the sauce.

IMG_0358


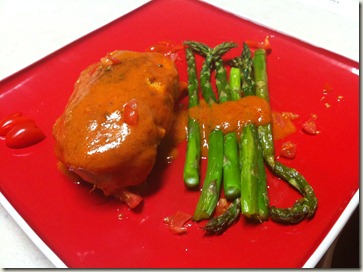
13) I plated this with a bit of diced up cherry tomatoes and some roasted asparagus (olive oil, salt, pepper, then placed in the toaster oven on 400F for about 10-15 minutes).

IMG_0360

Paleo Pork Chops & Apples

Here’s another recipe that I thought we be good to share. We make this one pretty often and it’s delicious! As soon as I make it again, I will update with a picture, but for now, here it is:

What you need:

  • 2 bone-in pork chops (from a farmer’s market if possible)
  • 2 green apples (diced or wedged)
  • 1/2 medium onion
  • Butter (pastured if possible)
  • Coconut oil
  • Chicken stock
  • Salt, pepper, thyme
  • Dutch oven or heavy pot
  • Tongs
  • Wooden spoon
  • Potato masher

How you do it:

  1. Get your pan going over medium heat. Let it heat for 2-3 minutes.
  2. Add in some butter and some coconut oil.
  3. Season the pork chops (both sides, please) with salt and pepper.
  4. Brown each pork chop (again, both sides, please). It will take 2-4 minutes depending on your pot. Once they are both browned, set them aside.
  5. Add some more butter and coconut oil.
  6. Add onions. Season with salt, pepper, and thyme.
  7. Cook until the onions are translucent and start to brown.
  8. Add in the apples. Cook for about 5 minutes or until the apples start to brown.
  9. Add enough chicken stock to just come up to the top of the apples/onions.
  10. Add the pork chops back in. Cover and reduce heat.
  11. Cook for 15-20 minutes.
  12. Remove pork chops.
  13. Mash up the apples. You can cook them a little longer if there’s still too much liquid.

Near the end, you have a few options with the mashed up apple sauce. You can add some heavy cream if you like, leave it just as it is, or add anything else that you think might make it delicious.

Spicy Chicken Tenders with Peppers

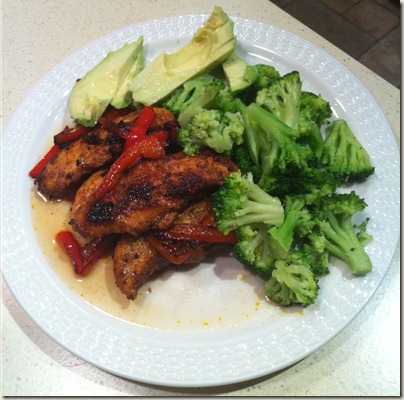
image

I am on the road this week for business, staying at a hotel here in Lincoln, Nebraska. I was pleasantly surprised when I found out that my hotel room had a kitchen. I have to admit, I had researched the restaurant situation before coming out and it’s pretty abysmal. Being that I am like 3 days into the “I Do The Impossible” challenge, I am being really particular about food and trying to follow my coach’s instructions to the letter. Going out to restaurants doesn’t really work too well because you really just never know what’s in the food. Hence, I am doing what most people think is impossible… cooking away from home in a hotel room.

Anyway, there’s a grocery store pretty close to where I am staying, so I have been buying things as I need them. I whipped this up tonight and it was delicious. Just thought I would share the recipe for a quick paleo meal:

What you need:

  • Chicken tenders (I used 8 for this)
  • Frozen Broccoli
  • 1 Red Pepper
  • 1 Avocado
  • 1 Lemon
  • 1 Lime
  • Salt
  • Pepper
  • Dried Onion
  • Chili Powder
  • Olive Oil
  • Butter (I used pastured butter)
  • Large Pan
  • Small Mixing Bowl

How you do it:

  1. Prep the pepper by cutting it into strips. Set aside.
  2. Place the tenders into the mixing bowl. Drizzle with olive oil.
  3. Add salt, pepper, chili powder, and dried onion. Mix well.
  4. Get your pan going over med/high heat. Let warm for 1-2 minutes.
  5. Add some butter and some olive oil. You can use coconut oil here too, I just didn’t have any.
  6. Add in the chicken tenders. Brown them, then flip them. About 2 minutes on each side.
  7. Add in the red pepper & stir.
  8. Drizzle in 1/2 the lemon and 1/2 the lime.
  9. Reduce heat to medium and cook for about 10 minute or until the peppers are caramelized and the chicken is cooked through.
  10. Steam the broccoli. Add butter and salt if desired to taste.
  11. Cut the avocado in half & scoop out. Slice.
  12. Plate it all, then drizzle with some more lemon and lime juice.

Veggie Cakes

I make lots of food that friends ask about sometimes, so I thought I’d start posting some of them here. This one is for veggie cakes.

There are lots of variations on this, but here’s how I do mine. Feel free to steal, use, and enjoy!

What you need:

  • 2 zucchini
  • 2 carrots
  • 3 eggs
  • 1/4 – 1/2c of almond flour
  • Oil to cook in (I use 1/2 coconut 1/2 grape seed)
  • A large pan
  • Spatula
  • Cooling rack lined with paper towels
  • Shredder or food processor with shredder blade
  • Ice cream scooper or tablespoon

How you do it:

  1. Shred up the veggies however you like. If you are using a shredder, like, by hand, use the larger side.
  2. Dump the shredded veggies into a large mixing bowl. If you have the time and feel like doing it, you can put the veggies into a cheese cloth and squeeze out the moisture. I never do and they always seem to turn out a-ok.
  3. Crack the 3 eggs into the veggies and mix.
  4. Add 1/4c of the almond flour, mix, then check it. Is it still really wet? Add some more if so. You want it to where it will hold together.
  5. **Do no season at this point as it will just turn it into a watery mess as the salt will draw moisture out of the veggies. Wait until later.**
  6. Get your large pan going over medium heat. Get about 1/4″ of oil in the pan. Let it heat for a good 2 minutes or so (depending on how thick your cookware is, you might wait less or more).
  7. Using an ice cream scooper or table spoon, get a blob of the mixture and put it in the pan. Flatten it with the spatula. Don’t crowd them.
  8. Cook for about 2 minutes on each side or until goldeny brown. Yum!
  9. Remove from pan and place on your draining station.
  10. Sprinkle with salt or whatever other spices you might like.

Yield: This should make about 18, give or take a few.

These will keep for about a week in the fridge and are great with breakfasts to get some extra veggies in. You can also do use another root vegetable combination that you might find appealing.

If you are interested in nutritional data on these, here’s what they look like, but keep in mind that I didn’t know how to accurately represent how much of the cooking fat made it in, so I would guess they would be slightly higher in fat than this site indicates.

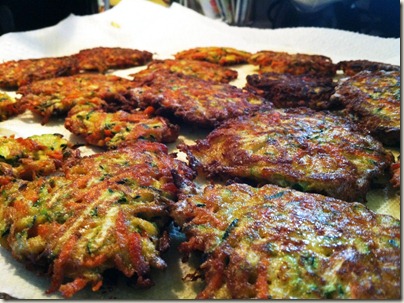
Here’s what the finished product looks like:

veggiecakes

Coconut Flour Pancakes

There are some paleo purists out there who will argue that cramming “paleo” ingredients into “Neolithic constructs” does not a paleo eater make. While most of the time I agree with this idea, sometimes, I just want a damn pancake.

I have tried 3 or 4 different recipes so far for “paleo pancakes”. Up until this point, they have been OK. Some didn’t really hold together; others just didn’t taste good. Also, they have all been almond flour based recipes.

This morning, I decided to try a recipe that was coconut flour based. A simple Google search for “coconut flour pancakes” turned this up:

http://www.comfybelly.com/2009/02/fluffy-coconut-flour-pancakes.html

The recipe was really simple to make and it was the closest thing I have seen to an actual wheat flour based pancake to date. I tried a few with blueberries which was OK, but I think generally, it’s lacking something. The texture and rigidity of the finished product was really good, but it was just a bit bland.

I think that these would make a great vehicle for both sweet and savory ingredients. I will experiment further with this recipe and post what I find if it’s good. Here’s the actual recipe if you are too lazy to click the link =)

This recipe makes about 5 to 6 medium-size pancakes.

Update on 12/6/09 The best way to insure fluffy pancakes is to separate the egg whites, whip them until you have fairly stiff peaks, and then blend the egg whites back into the batter.

Ingredients

  • 3 large eggs or 4 small eggs
  • 1 teaspoon of olive oil (or your oil of choice)
  • 1/2 teaspoon of vanilla
  • 1/4 teaspoon of cinnamon (optional)
  • 1/2 teaspoon of baking soda
  • 1 teaspoon of honey or maple syrup
  • 2 tablespoons of coconut flour
  • fresh or frozen blueberries (optional)

Preparation

  1. In a bowl, add all the wet ingredients and whisk together until well blended.
  2. Add the dry ingredients to the wet mixture, and whisk mixture again until well blended and frothy – this will get them even fluffier!
  3. Add additional olive oil or butter to a frying pan on medium to low heat and let warm for a few minutes. Next, pour the batter into small circles in the frying pan without letting the edges of each circle touch. Keep the heat fairly low and let the pancakes heat up slowly and rise – about 3 to 5 minutes.
  4. Wait until there are several bubbles appearing on top of the pancake circles and the edges are cooked, and then flip each pancake to cook the other side. This will not take long, so watch them carefully, and then move the pancakes onto another plate. Continue this until all the batter is gone.
  5. Enjoy!